Pavlova (pronounced pav-LOH-vuh) is not French, it's one of the glories of Australian cuisine (yes, I know the latest research shows it originated in New Zealand...)
 |
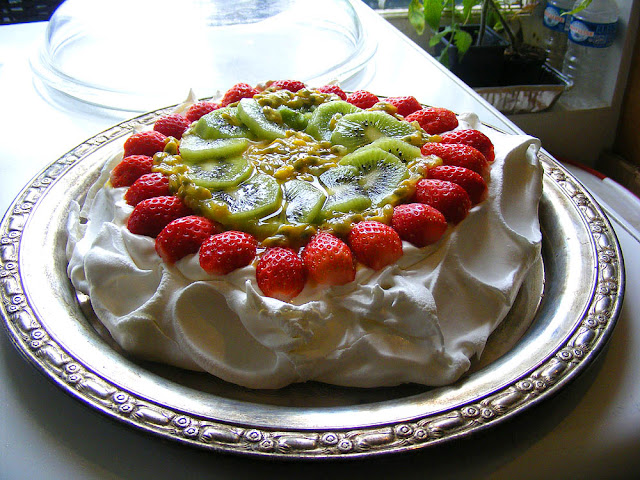
| A very traditional looking pavlova, made for a friend's 70th birthday celebrations, back in the days when we could socialise. |
A pavlova is a large disk of meringue, crispy on the outside and marshmallowy on the inside. It is absolutely nothing like the dry, chalky meringue shells that one can buy in the supermarket. Dolloped on top is whipped cream, and the whole is decorated with fruit. Strawberries are very traditional, but raspberries, banana, mango and kiwi fruit, and various combinations of these, are probably just as popular. The one fruit which is more or less essential on top of a pav is passionfruit.
 |
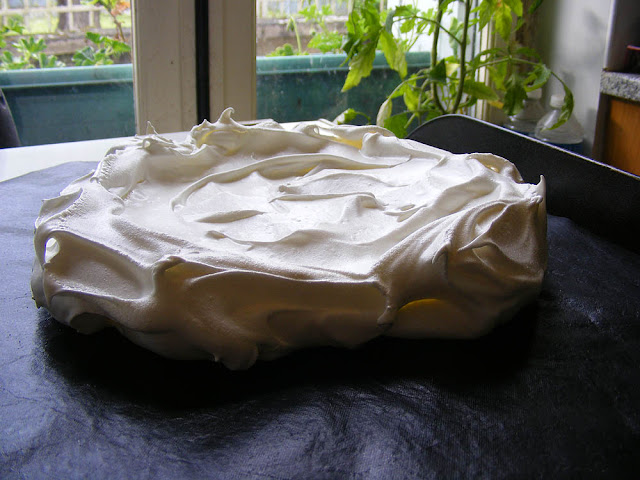
| The cooked meringue base, ready for whipped cream. |
A pavlova is one of the few dishes that combines pieces of fruit (as opposed to purée) and cream in a way that enhances the fruit rather than masks it. Perhaps the influence of the sweet crunchy/spongey meringue is the secret.
 |
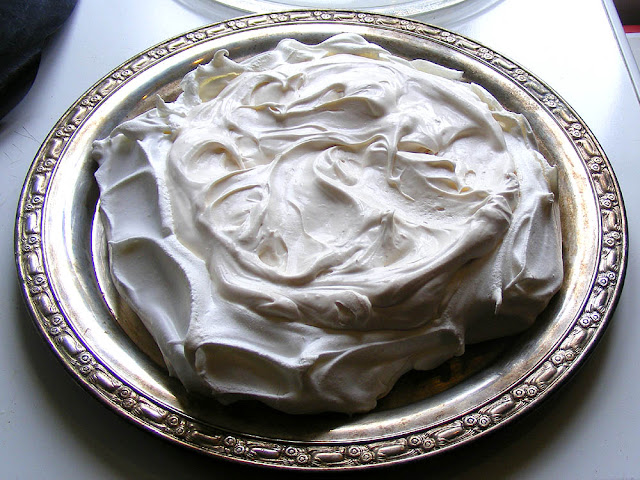
| Cream spread on top, ready for fruit decoration. |
It is important that a pavlova is cooked in such a way that the meringue barely colours. The merest hint of off-whiteness is acceptable but anything more is shameful failure.
Ingredients:
For the meringue
3 egg whites, more than 1 day old, less than a week old, at room temperature
175 g sugar (white, caster or vanilla)
For the topping
275 ml cream, whipped
Fruit to decorate
Method:
- Preheat oven to 100°C.
- Line a baking sheet with silicone paper.
- Rinse out the bowl the egg whites are to be whipped in with boiling water. Add a couple of drops of lemon juice and wipe the bowl completely dry with kitchen paper towel. This ensures no residual fat or moisture in the bowl to spoil the loft of the egg whites; it warms the bowl, which aids the aeration of the egg whites; it adds a touch of acid, which will strengthen the protein of the egg white, enabling it to hold air longer.
- Beat the egg whites slowly for about 30 seconds until frothy. If you are worried about the stability of your egg whites, you can add cream of tartar at a rate of ¼ tsp per egg white at this stage. Cream of tartar is an acid in powder form. A little acid will help the egg white, as noted above, and because it is in a powder form, you are not adding moisture. Meringue is so sensitive to moisture that it can even fail on particularly humid days.
- Now beat the egg whites rapidly for two minutes until they are stiff and pull up into peaks that don't collapse when you remove the whisk.
- Add the sugar gradually, in a slow stream, whisking all the time. Whisk until the egg whites have had about 10 minutes of whisking in total and the sugar is completely dissolved. Don't whisk longer than 15 minutes -- you will risk damaging your mixer/beater motor and risk overbeating the egg whites, which could begin to separate into liquid and lumpy bits. If the sugar hasn't dissolved your finished meringue will weep sticky liquid.
- Spoon the meringue onto the prepared baking sheet and shape gently into a roughly 20 cm circle. Push a little from the centre out to the sides so they are slightly raised and the centre slightly sunken. Don't fuss too much with it, as the more you prod and push the more air you squeeze out of it, no matter how light your touch.
- Put it on the top shelf in the oven and turn the thermostat down to 70°C.
- Cook for 1 hour, then turn the oven off. If the meringue starts to colour prop the oven door open a crack for half an hour. At the end of cooking time the meringue should have a crisp crust, not a leathery or sticky surface.
- Leave the meringue in the cooling oven for a minimum of 4 hours, and preferably overnight.
- To finish, transfer the pavlova base to a flat plate. Spread the whipped cream thickly on top and decorate with the fruit.
- Cut into wedges and serve. This size pavlova will serve 6.
Yum
We are also on Instagram, so check us out to see a regularly updated selection of our very best photos. You may also like to check out our YouTube channel

1 comment:
Looks interesting and delicious. I have heard of it but never seen one.
Post a Comment